Microsoft Azure
This example shows how to communicate with Azure IoT Hub using MQTT. User will need to set up a Network Interface connection on the device such as WiFi to Connect to Azure.
First download the required Azure Root Certificate and add to resources. The TLS Client shows how to download the root certificate.
Tip
Needed NuGets: GHIElectronics.TinyCLR.Networking.Mqtt, GHIElectronics.TinyCLR.Drivers.Azure.SAS
Add using statement: using System.Security.Cryptography.X509Certificates; using System.Security.Authentication;
var caCert = new X509Certificate("Need Azure certificate");

var iotHubName = "Your.azure-devices.net";
var iotHubPort = 8883;

// device/client information
const string deviceId = "your device id";

var username = string.Format("{0}/{1}", iotHubName, deviceId);

// Data time is important for calculate expire time
SystemTime.SetTime(new DateTime(2021, 2, 23));

var sas = new SharedAccessSignatureBuilder()
{
    Key = "your key",
    KeyName = "iothubowner",
    Target = "Your.azure-devices.net",
    TimeToLive = TimeSpan.FromDays(1) // at least 1 day.
};

// define topics
var topicDeviceToServer =
string.Format("devices/{0}/messages/events/", deviceId);

var topicService2Device =
string.Format("devices/{0}/messages/devicebound/#", deviceId);

try
{
    var clientSetting = new MqttClientSetting
    {
        BrokerName = iotHubName,
        BrokerPort = iotHubPort,
        ClientCertificate = null,
        CaCertificate = caCert,
        SslProtocol = System.Security.Authentication.SslProtocols.Tls12
    };

    var client = new Mqtt(clientSetting);

    client.PublishReceivedChanged += (p1, p2, p3, p4, p5, p6) => {
        Debug.WriteLine("Received message: " + Encoding.UTF8.GetString(p3));
    };

    var connectSetting = new MqttConnectionSetting
    {
        ClientId = deviceId,
        UserName = username,
        Password = sas.ToSignature()
    };

    var returnCode = client.Connect(connectSetting);

    if (returnCode != ConnectReturnCode.ConnectionAccepted)
        throw new Exception("Could not connect!");

    ushort packetId = 1;

    client.Subscribe(new string[] { topicService2Device }, new QoSLevel[]
        { QoSLevel.ExactlyOnce }, packetId++);

    client.Subscribe(new string[] { topicDeviceToServer }, new QoSLevel[]
        { QoSLevel.ExactlyOnce }, packetId++);

    client.Publish(topicDeviceToServer, Encoding.UTF8.GetBytes
        ("Your message"), QoSLevel.MostOnce, false, packetId++);
}
catch (Exception e)
{
    throw;
}
In the first line of code above, an Azure Certificate is referenced, place the certificate inside project resources and change the code to reflect the name of that certificate, in the example below the name is zura.
 var caCert =
new X509Certificate(Resources.GetByte(Resources.BinaryResources.zura));
The example code also requires iotHubName and deviceId, which are available only when a user opens an Azure account. To create the iotHubName and deviceId follow these instructions found on their website.
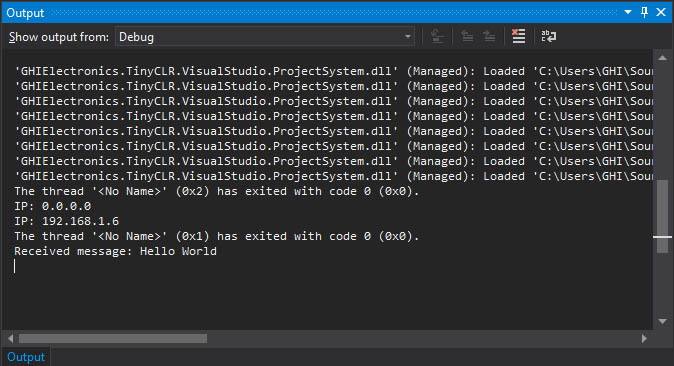
Using the earlier code will send the incoming message the 'Output' window of Visual Studio.