NuGet
All libraries are hosted in the cloud using the industry standard NuGet format on www.NuGet.org. Not only is it easy to install and upgrade libraries, it is also easy to create and publish custom libraries.
The steps below explain how to add online-hosted NuGet libraries to your project. If you are using a pre-release, the libraries must be downloaded and installed as a local feed.
Start Visual Studio and create a new
TinyCLR ApplicationunderC# > TinyCLR. New to Visual Studio or C#? Take a look at the getting started guide from Microsoft.Right click on your Project in the Solution Explorer panel and select
Manage NuGet Packages. If the Solution Explorer window is not visible, open it by selectingSolution Explorerin theViewmenu. You can also selectManage NuGet Packages...in theProjectmenu of Visual Studio.
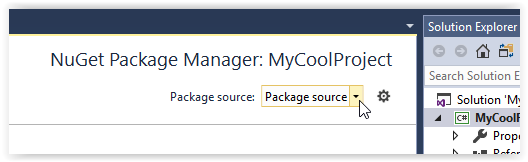
Make sure the package source is set to "Package source" or "All."
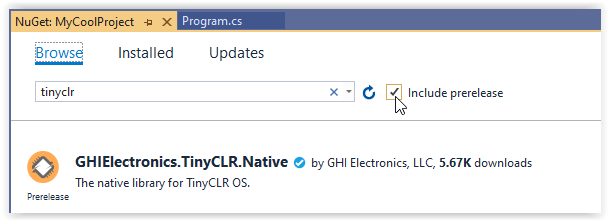
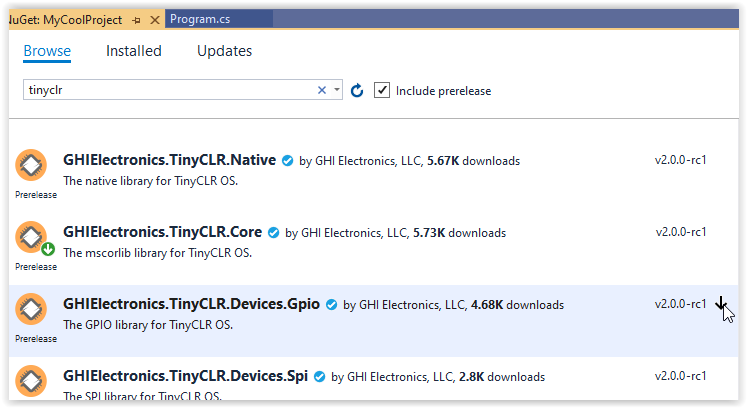
In the search box type "tinyclr." You may have to check the "Include prerelease" box to find the libraries.
Selecting the
Browsetab will show all the TinyCLR NuGet packages.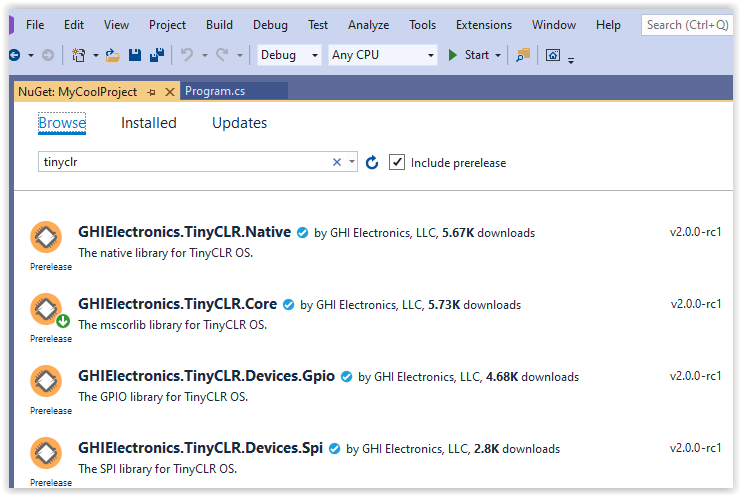
To install one of the packages click on the down arrow to the right of the package version.
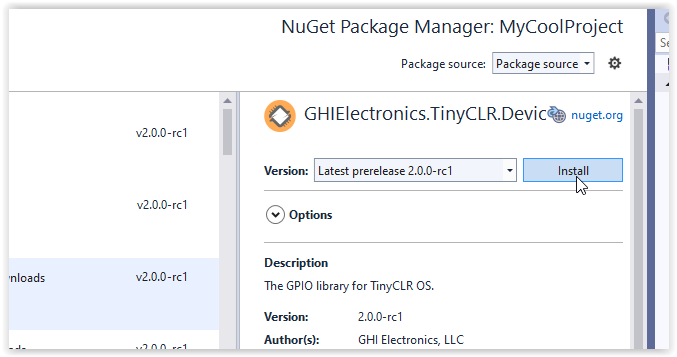
You can also select the package and click on the Install button in the center panel.
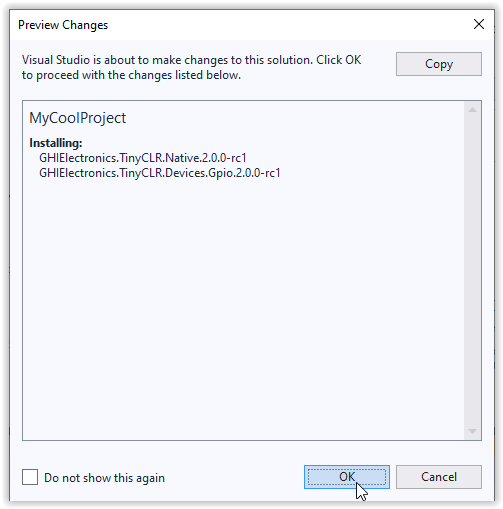
- Click
OKto accept the proposed changes.
- Accept the licensing agreement to install the package.

Note
Pre-release libraries are not hosted on NuGet.org, use the local feed feature to fetch the needed libraries from your local machine, found on the Downloads page.
For information on creating custom NuGet Packages, this page from Microsoft is a good place to start.
Tip
Developers can use the NuGet Package Manager Console to reinstall NuGets Update-Package -reinstall. More details are found on Visual Studio Docs website.